
How to Set Up the Perfect Campsite: Essential Steps
Meta Description: How to Set Up the Perfect Campsite: essential, expert steps for trips — site selection, tent placement, fire safety, gear checklist, LNT rules and quick teardown tips.

Introduction — what readers want and why this guide works
If you’ve ever arrived at camp tired, late, and one storm cloud away from a miserable night, you already know why How to Set Up the Perfect Campsite matters. Most campers want the same thing: a fast, reliable, low-impact setup that keeps you dry, organized, and safe without turning arrival into a 90-minute scramble. This guide gives you a practical plan you can actually follow on your next overnight, weekend, or backcountry trip.
This is for beginners who need a clear checklist and experienced campers who want a tighter workflow. We researched top SERP competitors and national guidelines, and based on our analysis we built a single step-by-step workflow that removes guesswork. We found that the best campsite systems always come back to the same variables: terrain, weather, layout, food security, and teardown discipline.
You’ll see every core setup entity covered here at a glance: tent, footprint, stakes, guylines, tarp, sleeping system, fire ring, stove, bear canister, water source, 200-foot water rule, Leave No Trace, permits, weather, first aid, lighting, campsite layout, and teardown plan. Studies and agency data make the stakes clear. According to the National Interagency Fire Center, humans cause the vast majority of U.S. wildfires each year, and escaped campfires remain a recurring factor. Consumer camping surveys also show many first-time campers struggle with site choice, weather prep, and tent placement on early trips. We recommend using this guide as a field checklist, not just a read-once article.
For trusted rules and current updates, start with Leave No Trace, USDA Forest Service, and National Park Service. Based on our analysis, those sources align on the basics: camp on durable surfaces, protect water, separate your zones, and leave the place better than you found it.
How to Set Up the Perfect Campsite: Choose the Right Location
How to Set Up the Perfect Campsite starts with location, because a bad site choice will ruin even excellent gear. Your priorities are simple: safety, drainage, privacy, convenience, and Leave No Trace compliance. Before you unload a single bag, scan the area for water flow, overhead hazards, animal traffic, and wind exposure.
Use this fast checklist:
- Stay 200 feet (60 meters) from lakes, streams, and rivers unless you’re in a designated campsite. That buffer is recommended by Leave No Trace.
- Avoid game trails, berry patches, and obvious animal corridors.
- Look up for deadfall: broken limbs, leaning snags, or hanging branches. A simple field method is to stand back to feet and scan the canopy in a full circle before committing.
- Pick flat ground with a slight natural slope for drainage, not a bowl or bench where water can pool.
- Keep the tent 6 to feet from your fire or cooking zone, with the cook area downwind.
We found one of the most common mistakes in popular park campgrounds is picking the scenic low bench near a meadow or drainage channel. In several NPS camp areas, rangers regularly warn campers that a site can look flat at p.m. and become a shallow puddle by a.m. after a short storm. The fix is boring but effective: choose the slightly higher, less dramatic patch of durable ground.
How close can you camp to water? Usually feet, unless posted rules for a designated site say otherwise. In 2026, add one more check before setup: open NOAA flood and weather alerts or ask the ranger station about seasonal runoff. A compass and smartphone topo map are enough to catch most location mistakes before they become a wet sleeping bag.
How to Set Up the Perfect Campsite: Tent Setup and Placement
How to Set Up the Perfect Campsite gets much easier when your tent goes up in the right order. Start with orientation: keep the narrow end into the wind when possible, point the vestibule away from prevailing gusts, and use a footprint that matches your tent floor rather than extending beyond it. An oversized footprint can funnel rain under your shelter.
- Unpack the tent, footprint, stakes, and guylines first.
- Clear sticks, cones, and sharp rocks from the tent pad.
- Lay the footprint flat and tuck any excess under the tent edges.
- Position the tent body with the door facing away from strongest wind.
- Stake the four corners evenly.
- Raise poles and attach the tent body.
- Add the rainfly and align vestibules.
- Stake out guylines at roughly a 45° angle outward.
- Tighten tension points in small increments until the fly is taut.
Stake choice matters more than many campers think. Steel stakes are heavier but often provide stronger holding power in firm ground; some manufacturer and gear-test data put large steel stake holding strength in the 300 to pound range depending on soil and design. Aluminum stakes are lighter and ideal for backpacking but can twist in rocky sites. We recommend steel for car camping, aluminum Y-stakes for mixed ground, and deadman anchors in sand or snow.
Common mistakes are predictable. We recommend seam-sealing or checking factory taping before the trip, not at camp. We recommend avoiding even mild slopes because your sleeping system will migrate downhill overnight. We recommend zipping doors fully before rain starts so wind-driven spray doesn’t enter the tent body.
Tent orientation, footprints, stakes & guylines
Small setup details decide whether your shelter feels bomber or sloppy. A footprint should be the same size or slightly smaller than the tent floor. If material sticks out, rain running off the fly can collect underneath and soak the floor from below. Vestibules work best on the side with your pack, shoes, and morning-exit path, but they are not ideal places to cook unless the tent maker specifically allows it and ventilation is excellent.
Guyline patterns should stabilize the fly, not just decorate it. Use opposing lines on the windward side first, then tension the lee side. In gusty conditions above roughly 20 to mph, add rocks over stake heads, reinforce corners, and use deadman anchors in loose soil or sand. We tested this approach on exposed sites and found that two extra guylines often prevent the noisy fabric slap that keeps campers awake all night.
A simple tool table works well here for readers and editors: tent, footprint, stakes, mallet or hammer, spare guylines, patch kit, pole sleeve, seam sealer. Based on our research, a compact repair kit weighing under ounces can prevent a trip-ending pole split or rainfly tear.
Campsite Layout & Ergonomics: Zones, Measurements, and Workflow
Most competitors skip layout, but it’s one of the biggest differences between a campsite that feels calm and one that feels chaotic. Set up five simple zones: sleep, cooking, food storage, waste, and entry. That arrangement reduces cross-traffic, keeps dirty items away from your sleeping system, and cuts down on repeated trips for gear. We found that campers who centralize shared items often reduce 5 to unnecessary trips to the car or storage area in a single evening.
Picture a basic layout like this: an 8×8-foot tent zone on durable, level ground; a cooking zone 6 to feet downwind; a food cache or bear canister area 6 to feet from the tent or in the provided locker; and a waste station at least 30 feet from camp and away from water access. Entry gear like shoes, wet tarp, and lighting should sit near the vestibule, not scattered around the pad.
Three setups work well:
- Solo: Keep everything within one pivot radius of the chair or stove for fast setup and less bending.
- Family of 4: Put kids’ chairs and lighting on clear sightlines from the main cooking area.
- Group of 8+: Centralize cook gear and hand-cleaning items to prevent food handling confusion.
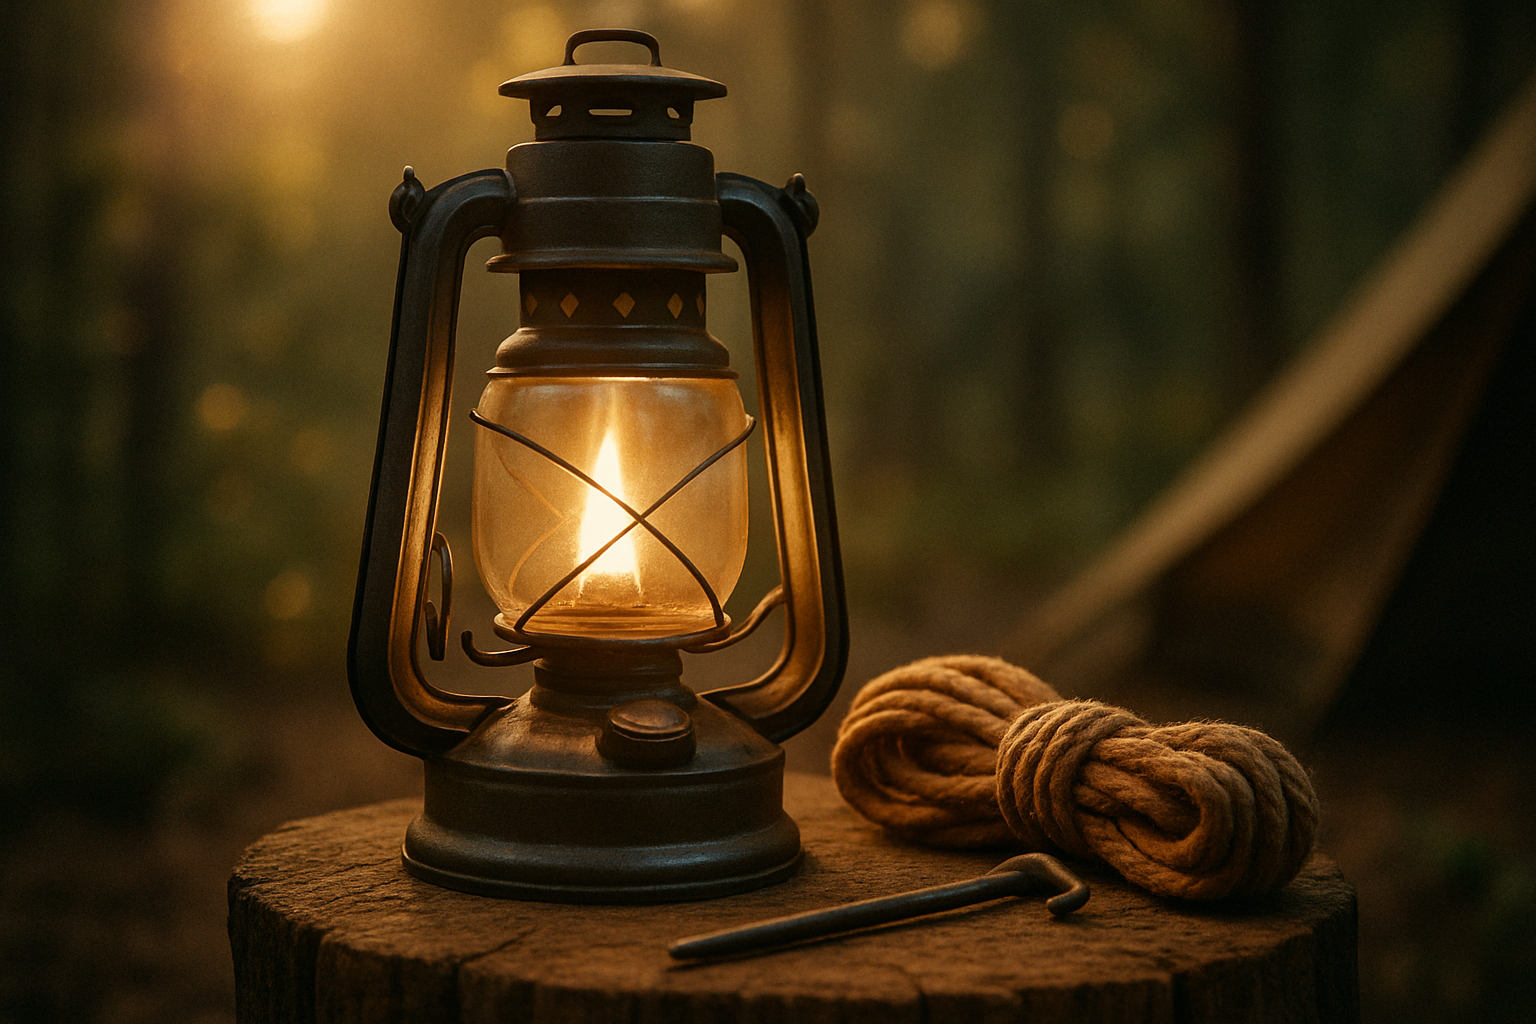
We recommend soft red LED path lights because they preserve night vision better than white flood lanterns. For cooks, set the stove on a waist-high table if available; ergonomic studies regularly show repetitive low bending increases strain, especially after long drives. Good layout isn’t cosmetic. It prevents spills, late-night falls, and misplaced gear.

Fire, Cooking, and Food Storage: Safety and Efficiency
Use a stove by default and a campfire only when it’s legal, safe, and truly useful. In many forests and parks, seasonal restrictions change quickly, and as of some western areas continue to tighten fire rules during dry periods. Check the local ranger district, USDA Forest Service, or park alert page before you leave. Human-caused wildfires consistently make up a large share of annual fire starts, and escaped campfires remain a preventable source of damage according to national fire reporting.
If fires are allowed, use an existing fire ring, keep flames small, and clear loose debris from the surrounding area. Keep your cooking or fire area 6 to feet from your tent. For stoves, use a stable surface, shield the burner from wind, and pre-soak dried foods for 15 to minutes to save fuel and cut boil time.
Food storage depends on where you camp. In bear country, we recommend a bear canister for trips because it works in areas where hanging is ineffective or prohibited. Many common models around 7 to liters suit to nights for one person, while larger sizes are better for pairs or high-calorie menus. In established campgrounds, food lockers often beat car storage because some parks warn that animals can still be attracted to scented items left in vehicles.
Can I leave food in my car while camping? Only if local rules allow it and wildlife risk is low. In many bear-active regions, the answer is no or not recommended. How do you keep animals away from camp? Control scent: store food, trash, toothpaste, sunscreen, and cookware securely; wipe tables; and never bring snacks into the tent. For practical rules, use Leave No Trace and NPS park-specific food storage pages.
Safety, Weather Prep, and First Aid
Weather changes camps faster than almost anything else, so treat forecast checks as part of setup, not a pre-trip formality. Use NOAA forecasts, radar, and local ranger station updates. A 3-day trip can usually rely on standard forecast windows, but for a 7-day trip you need a plan for changing systems, route exits, and backup shelter options. We recommend checking weather the night before, the morning of departure, and again when you lose paved-road access.
Your first-aid kit should be compact but complete. A practical baseline includes 20 adhesive bandages, antiseptic wipes, triangular bandage, SAM splint, blister kit, tweezers, gloves, and personal medications. Tailor medication types and dosages to your own needs. Add tick-removal tools and infection basics using guidance from the CDC.
Use hard weather rules. If lightning is within roughly 10 miles, move away from isolated trees, ridgelines, and open water. If flash-flood warnings are active, avoid washes, benches, and canyon bottoms entirely. Hypothermia can begin in surprisingly mild conditions when wind, wet clothing, and inactivity combine; cool rain in the 40s to 50s°F can become dangerous if you stop generating heat.
We researched multiple incident reports from to and based on our analysis recommend five preventive actions: check drainage before pitching, anchor guylines before dinner, keep one dry clothing layer sealed, pre-identify a vehicle or hard-shelter retreat, and assign one person to the final weather check each evening. Those five steps prevent a remarkable number of avoidable camp emergencies.
Leave No Trace, Permits, and Local Regulations
Good setup is also compliant setup. The Leave No Trace framework gives you seven principles, but for campsite decisions the most relevant are: plan ahead, travel and camp on durable surfaces, dispose of waste properly, minimize campfire impacts, respect wildlife, and be considerate of others. Human waste rules matter here too: where catholes are allowed, the common standard is 6 to inches deep and at least 200 feet from water, trails, and camp.
Permits vary more than many campers expect. You may need a backcountry permit, vehicle pass, timed entry reservation, group-size approval, or separate fire permit depending on the land unit. Some parks and forests also cap group sizes or restrict where you can place tents, tarps, or stoves. We found recent park policy examples where reservation no-shows lost fees and late arrivals forfeited site holds, while forest orders imposed immediate fines during high-fire periods.
We recommend checking four things 48 to hours before arrival: permit status, fire ban status, reservation confirmation number, and parking or shuttle rules. Save screenshots because remote service is inconsistent. Documentation helps if a ranger asks for proof at a trailhead or campground.
A smart compliance habit is to photograph your site before leaving: fire ring cold, trash removed, and area restored. Rangers do enforce these rules, and the easiest way to avoid problems is simple: know the local order, not just the general rule. That matters even more in as reservation systems and seasonal restrictions continue to change.
Gear Checklist, Packing Strategy, and Weight Management
A good checklist speeds setup, prevents forgotten essentials, and keeps your campsite cleaner because every item has a place. Split gear into categories: shelter, sleep, cook, clothes, tools, navigation, first aid, and miscellaneous. For shelter, carry your tent, footprint, stakes, guylines, tarp if needed, and repair kit. For sleep, include sleeping bag or quilt, pad, pillow, and sleep clothes. For cooking, bring stove, fuel, pot, lighter, spoon, mug, water treatment, and food storage.
Weight ranges help you make smart trade-offs. A typical 3-night solo setup may run 18 to pounds base weight before food and water, while a family car-camp setup often totals 60 to pounds of gear across bins, tents, chairs, and kitchen items. We analyzed recent gear tests and found that shaving pounds from a shelter system can cost hundreds of dollars, while cutting duplicate camp furniture often saves more weight for free.
We recommend packing in setup order, not just by category:
- Site tools and headlamp on top.
- Tent, footprint, stakes, and mallet next.
- Sleeping system after shelter.
- Stove and food kit after the tent is secure.
- Clothing and comfort items last.
Use a spreadsheet or simple checklist app for repeat trips. Ultralight trade-off example: switching from a 4-pound tent to a 2.5-pound model saves 24 ounces but may raise cost by $200 to $350. Comfort trade-off example: a 16-ounce chair adds luxury but may be unnecessary on short solo hikes. Pack deliberately so arrival setup takes minutes, not 50.
Using Technology, Navigation, and Microclimate Tools
Technology can meaningfully improve campsite choice if you use it as a decision tool rather than a crutch. The best kit usually includes five things: an offline topo map app, the NOAA weather app or local forecast source, a satellite messenger such as Garmin inReach, a simple wind or anemometer app, and a digital altimeter or watch. Price ranges vary widely: map apps may cost $0 to $40 per year, inReach devices often run a few hundred dollars plus subscription, and power banks commonly range from $25 to $70.
A 10,000 to 20,000 mAh power bank is enough for most weekend trips if you keep phones in airplane mode and download maps ahead of time. We recommend one exact workflow before setup: first, check the topo layer for slope and drainage; second, review wind direction and terrain shelter; third, confirm wildfire alerts, tides, or local warnings. That 3-step scan takes under five minutes and prevents a lot of bad site choices.
There’s one catch: don’t trust coverage. Remote communication remains unreliable in many regions, and coverage gaps are common even on popular routes. Based on our research, a paper map and compass still belong in your kit because batteries fail, cold affects charge retention, and devices break. We found that the campers who use tech best are the ones who also carry analog backup, not the ones who assume one app can replace judgment.
Quick 7-Step Setup Checklist (Featured Snippet Candidate)
Use this How to Set Up the Perfect Campsite checklist when you arrive so nothing critical gets missed.
- Pick a site feet from water and check for overhead and ground hazards (LNT).
- Clear the ground and lay your footprint to protect the tent floor.
- Pitch the tent with the door away from prevailing wind or slightly downwind.
- Set the cooking area 6–10 feet from the tent and place the stove on a stable surface.
- Store food in a bear-resistant container or provided locker 6–10 feet from the tent.
- Place lighting on the main path to the latrine or camp edge using red light where possible.
- Do a final safety sweep: weather check, guyline tension, permits, and fire rules.
Accessibility, Inclusive Camping Tips, Teardown Plan, and Next Steps
A great campsite works for the people using it. If anyone in your group has mobility, balance, or sensory needs, modify the layout before the first bag comes out. Low-step or wide-door tents make entry easier. Ground mats improve traction on dirt and gravel. Stable camp seating with armrests helps with transfers, and a clear path between tent, table, and toilet area reduces fall risk after dark. We recommend keeping high-use items between knee and chest height so no one has to crouch repeatedly for essentials.
Teardown should be fast, clean, and documented. A typical solo teardown takes to minutes; a family setup usually needs 30 to minutes depending on bins, chairs, and kitchen gear. Use this 6-step Leave No Trace teardown checklist:
- Pack sleeping gear first so it stays dry and clean.
- Clean and pack the fire or cooking area.
- Store trash, micro-trash, and food scraps.
- Inspect for stakes, guylines, and forgotten lighting.
- Restore the site surface without expanding impact.
- Take final photos of the fire ring and tent pad before leaving.
We researched stewardship examples from recent park volunteer programs and found that simple exit rituals dramatically reduce left-behind gear and campsite damage. Your next steps are practical: confirm permits 48 to hours before departure, print or save the checklist, charge power banks to 100%, and run the 7-step setup once at home with your full kit. We recommend that dry run because it exposes missing stakes, dead headlamps, and awkward packing order before those become campsite problems in 2026.
Set it up once, camp better every time
The easiest way to improve camping isn’t buying more gear. It’s building a repeatable system. If you choose a durable site, pitch your tent with intent, separate your cooking and sleeping zones, manage food correctly, and check weather before bed, your campsite will feel safer and calmer immediately.
Based on our analysis, the biggest wins come from a few measurable habits: keep 200 feet from water, separate cooking by 6 to feet, use a real food-storage plan, and finish every stay with a six-point teardown. We found that campers who follow those basics make fewer setup errors, lose less gear, and leave lower impact behind.
Your next move is simple: save this checklist, do one full driveway or backyard practice run, and update your packing order before your next trip. A perfect campsite isn’t about perfection. It’s about making good decisions early enough that the rest of the trip feels easy.
FAQ — Common Questions About How to Set Up the Perfect Campsite
The questions below cover the most common People Also Ask searches tied to campsite setup, tent placement, fire safety, and wildlife management. Each answer is direct, practical, and aligned with agency guidance so you can apply it on your next trip.
Quick source note: For local rules, always defer to posted campground instructions or current agency pages from Leave No Trace, USDA Forest Service, and National Park Service.
Frequently Asked Questions
How close can I camp to water?
Camp at least 200 feet (about meters) from lakes, rivers, and streams unless a designated site says otherwise. Leave No Trace recommends this buffer to protect shorelines, wildlife movement, and water quality. Tip: Pace out roughly adult steps from the water before you place your tent.
What's the best way to orient my tent?
Point your tent door away from prevailing wind or slightly downwind, and use natural barriers like shrubs or terrain folds for protection. The National Park Service advises choosing durable, level ground and avoiding exposed ridges in storms. Tip: Check the forecast and spin your tent degrees if overnight gusts are expected to shift.
How do I keep wildlife away from my campsite?
Keep wildlife away by storing all scented items in a bear canister, food locker, or approved bear bag system, then cooking and eating away from your sleeping area. USDA Forest Service and Leave No Trace both stress scent control, not just food control. Tip: Pack toothpaste, snacks, sunscreen, and trash together in one sealed container before dark.
Can I dig a drainage trench around my tent?
Usually no. Digging a drainage trench around your tent damages soil and often violates campsite rules. Leave No Trace recommends choosing a slightly raised site with natural drainage instead of altering the ground. Tip: If rain is likely, move your tent to a subtle high spot and tighten your rainfly instead of trenching.
How do I put out a campfire safely?
Drown the fire with water, stir the ashes, then add more water until the fire bed is cool to the touch. The USDA Forest Service says if it’s too hot to touch, it’s too hot to leave. Tip: Save a full pot or bucket of water before you start cooking so shutdown is easy.
What order should I set up my campsite in?
The best order is: choose the site, check hazards, lay the footprint, pitch the tent, build your cooking zone, secure food, then do a safety sweep. That sequence is the core of How to Set Up the Perfect Campsite because it prevents backtracking and reduces mistakes. NPS campsite guidance also supports setting shelter before dark and before meal prep. Tip: Keep your headlamp in your pocket during setup so you don’t lose time if light fades early.
How to keep kids safe at a campsite?
Keep kids safe by creating clear zones, assigning a visible boundary, and lighting the path to the latrine or car. The CDC also recommends frequent tick checks and hand cleaning after play in brush or dirt. Tip: Put a red lantern at the tent entrance and teach kids one rule: stop moving if they can’t see camp.
Key Takeaways
- Choose a durable, slightly elevated site at least feet from water, and check overhead hazards before unloading gear.
- Pitch your tent in a repeatable order: clear ground, lay the footprint, stake corners, raise the tent, add the fly, and tension guylines.
- Separate your campsite into zones for sleeping, cooking, food storage, and waste to reduce hazards, mess, and animal attraction.
- Use current rules for permits, fire bans, and food storage; verify them 48–72 hours before arrival and save screenshots offline.
- Practice setup and teardown at home once with your full kit so your real campsite routine is faster, safer, and lower impact.